
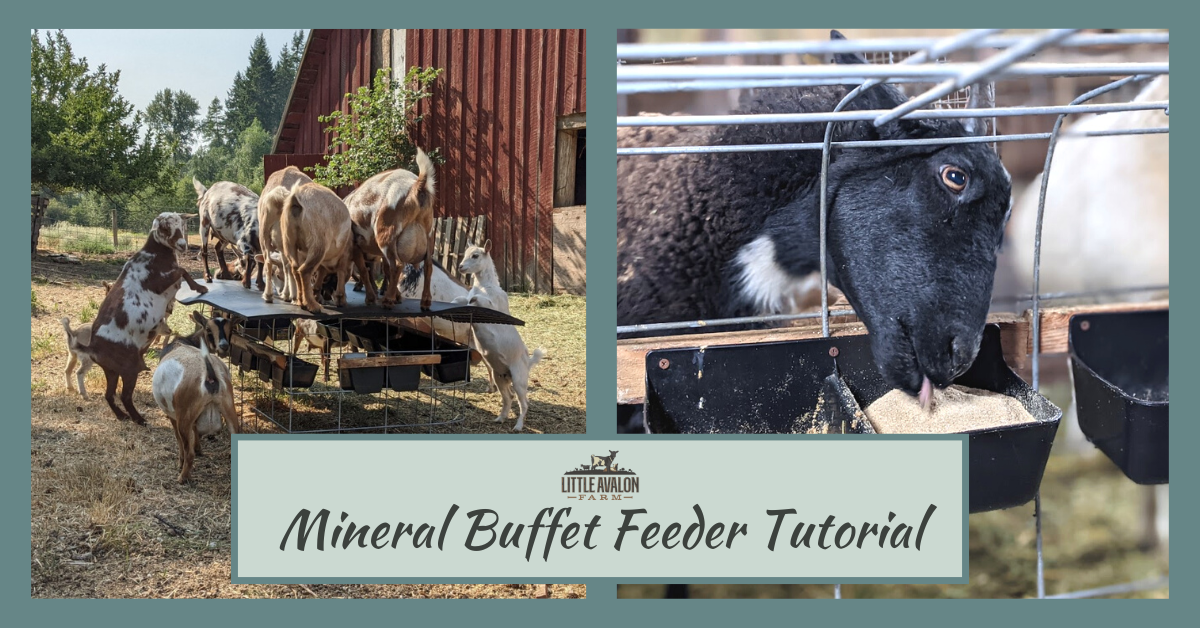
One of the biggest hurdles to getting started with mineral buffet is figuring out how to feed it without loss from waste or water. I don't know about your goats, but mine are poo basketball pros and if there's a way to reach the feeders, they're finding it.
Enter this feeder we built in about 2 hours with $150 in materials, though that was las year and prices have gone up a bit. I'm a big fan of cattle panels and have used them for everything from hay feeders to shelters. You can do so much with such a simple tool!
For this mineral buffet feeder tutorial, you'll need*:
- 1 50"x16' cattle panel (currently $26 at our local farm store)
- 10 2-hole black mineral feeders (we found the best deal at Big Dee's for $50 +s/h) (alternately, these 12 ounce bird feeders are much more cost effective)
- 1 4'x8' stall mat (currently $90 at our local farm store)
- wire tie or brackets to connect the cattle panel to itself
- scrap wood or 2"x2" pieces of lumber to screw the mineral feeders to
- wood burner or permanent marker on duct table, something to clearly mark each hole
- bolt cutters to cut the cattle panel & a crowbar or hammer to bend the rods
*If you have a small herd, take a look at Mobile, Small Animal Mineral Buffet Feeder Ideas.
You'll use the entire length of the 16', so starting at one end, count 4 squares in and make a 90 degree bend. Count 8 more squares and make another 90 degree bend. Count 4 more, bend 90 degrees one last time and you'll have a 4-sided mineral buffet feeder started.
It is easier to install the feeders before you connect the ends, so gather your scrap wood/lumber and mineral feeders. Assuming you put the smaller holes of the cattle panel down, skip the two small sized rows and install your feeders in one of the first two regular sized holes. Doing mine over again, I think I'd install in the large square just above the two small and then possibly cut the vertical next horizontal rods up to give them a little more room but that might too negatively affect structural integrity when your goats jump on it. The feeders have a notch along the bottom that you can set into the rod on the bottom of the square to help keep them more secure.
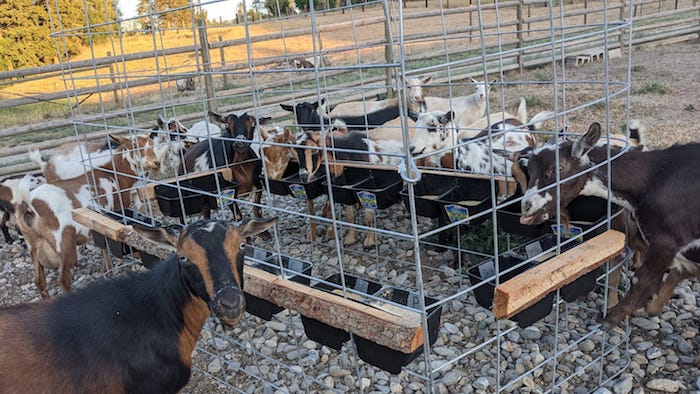
Once feeders are installed, connect the 2 ends securely together, forming a rectangle, but only tie the bottom 5 squares together for this step. If your feeder will be indoors, you could stop right here and have a fully functional mineral feeder, but if you want to include weather protection on the feeder, you'll need to do a couple more steps.
First, count three big squares up from the bottom or 5 total if you count the two small rows. On the short ends (the sides that are 4 squares wide), cut away the upper half. It can be repurposed as a garden support or to prevent digging under a fence line if you have dogs.
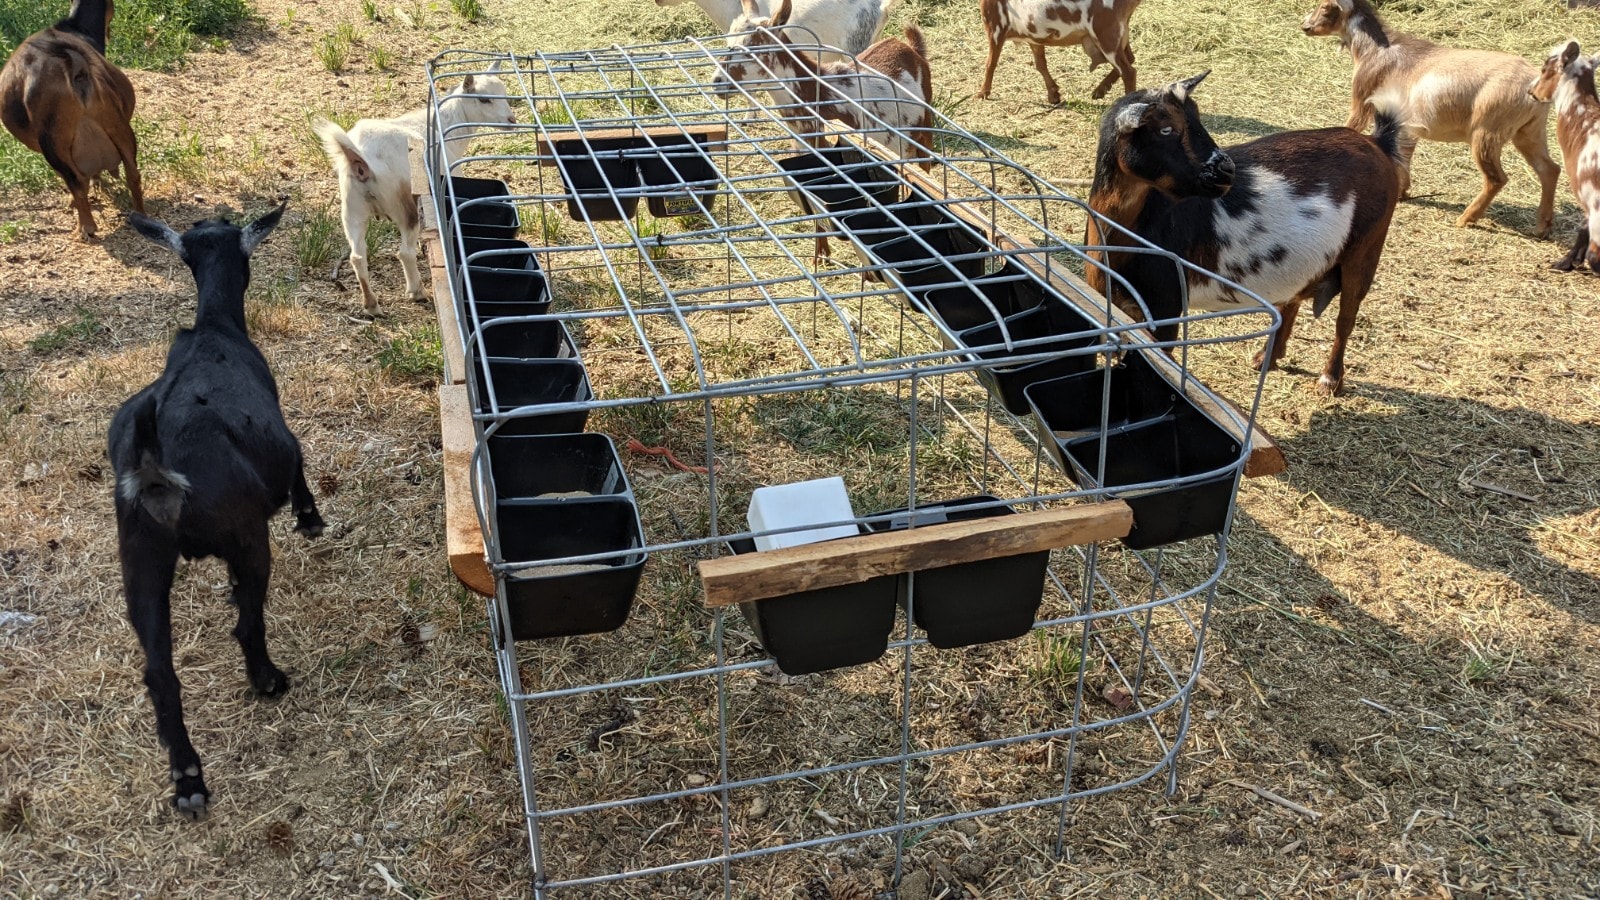
Once both ends have been cut away, you're left with the two long sides. These will remain as they are, but need to be folded down like the flaps of a box. The rods are tough but the claw of a hammer or crowbar is tougher. Start an inch or so above where you want to bend and use your claw to begin bending each rod. Alternately, if you're somewhat nimble, you can stand on a 2"x4" along the bend line and bend against it to get all the rods at once. Just try to make sure they're all bent at the same angle in the end.
Repeat this folding process on the other side so you have one long side folded over on top of the other long side. This forms the structural support necessary to hold the weight of the stall mat and all the goats who can possibly fit on there without damaging the mineral buffet feeder. Using wire tires or something similarly strong, securely tie these two sides to each other. This necessary step is what really strengthens the roof and you'll be glad you took the time when you get to the last step, where you install goats.
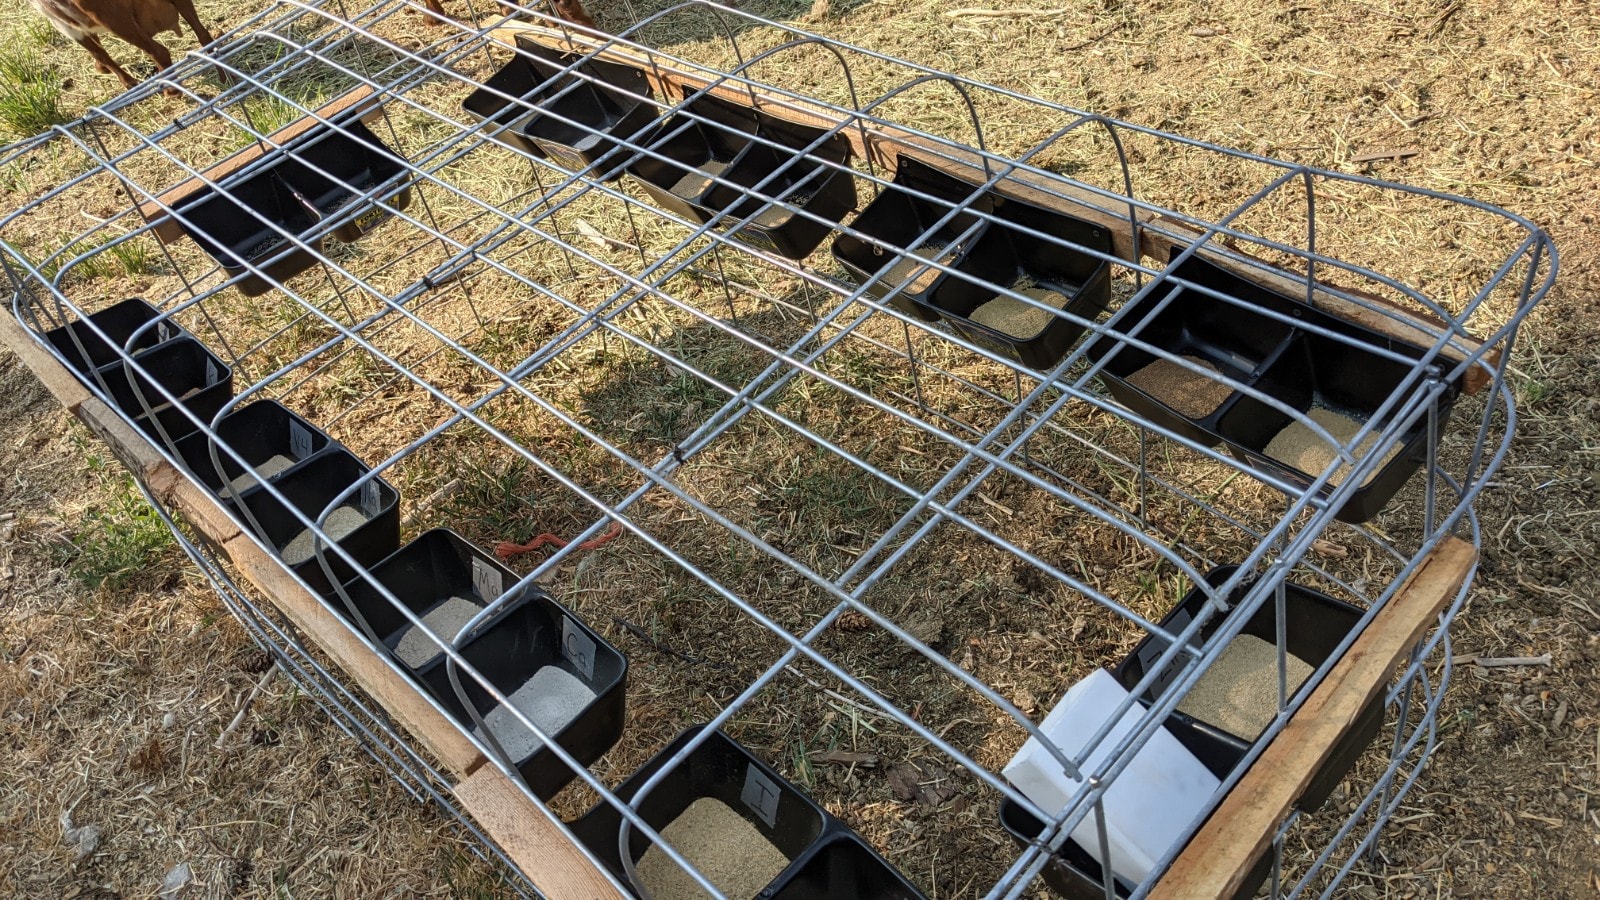
Identify the Minerals
Before you fill the feeders, it is really, really helpful to permanently mark each hole. My friend's well meaning husband helped her the other day by feeding out all the minerals, but he didn't think to identify which ones went where and she's been playing guesswork ever since.
We've used permanent marker on duct tape but it needs to be placed where goats can't reach at all, like on the outside back side of each hole. My next plan is to use my cool new pyrography woodburning set to just burn the wood at each place with its corresponding letter identifier. However you do it, make sure it is lasting so you don't have to try to guess what to refill.
Once your mineral holes are clearly labeled and your feeder is securely tied together, it's time to move it out to its resting spot. Once there, you can place the super ultra heavy stall mat and trust that, aside from some occasional repositioning, it's going to stay put forEVER. Now it's time to fill the feeders and add the final ingredient: goats.
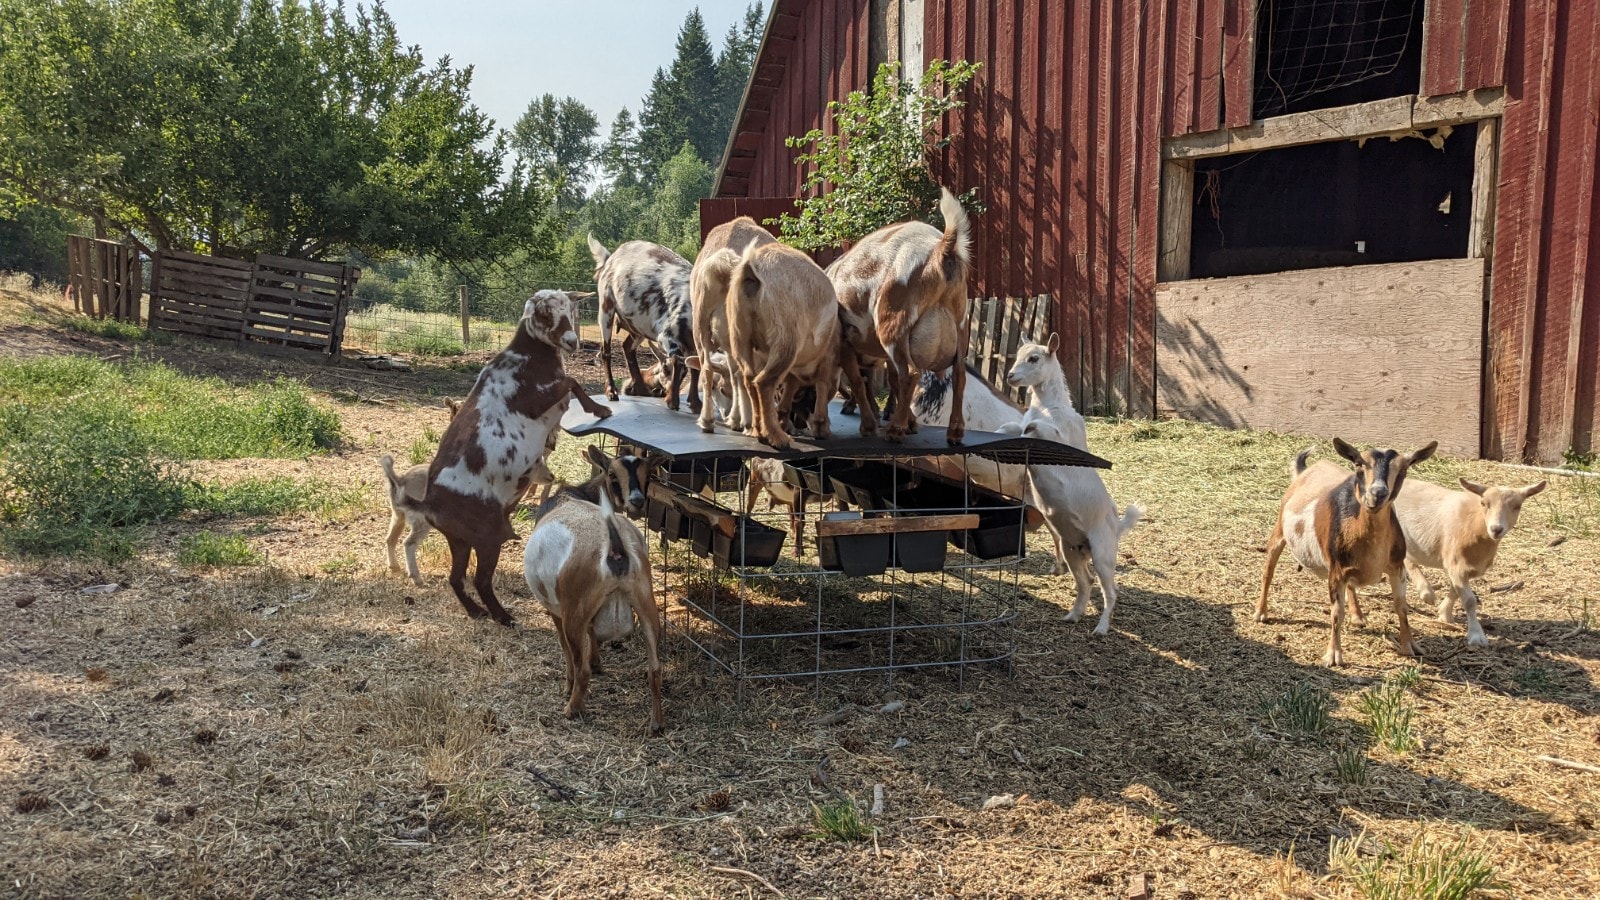
Aren't you glad you took the time to secure every part of your mineral buffet feeder? I sure am.
For easier maintenance, I have collected random containers, such as empty applesauce containers or old spaghetti sauce jars, and filled those up to store under the feeders, each one labeled with its contents. Then as I'm out and about checking, I can quickly top off what's low and bring the container back to the barn for a refill.
And that's it! We've built two of these to use in the buck and doe pastures. We will be working on a smaller, more portable version this spring for the interim buck pen where those naughty boys have to stay during spring rut. Once I get that figured out, I'll share it here as well.
Have you built a mineral buffet feeder? I'd love to see what you've created! Join the conversation and talk all things goat at our Facebook group, The Holistic Goat.